Track Saw
Having made a handful of cuts with my circular saw both by hand and using makeshift fences, I decided that I wasn’t quite satisfied with the accuracy that I was able to achieve.
I looked into a handful of options for making more precise cuts and settled on trying to make a track saw conversion for it. After watching several “DIY Track Saw” videos on YouTube that involved varying levels of complexity and hardware, I picked one to follow and build. I wanted one that would be reversible so that I could still use the circular saw on its own if I desired. I altered the design slightly by using 1⁄4″ plywood throughout instead of a combination of 1⁄4″ MDF panel and a 1⁄2″ MDF board in order to keep it a bit lighter.
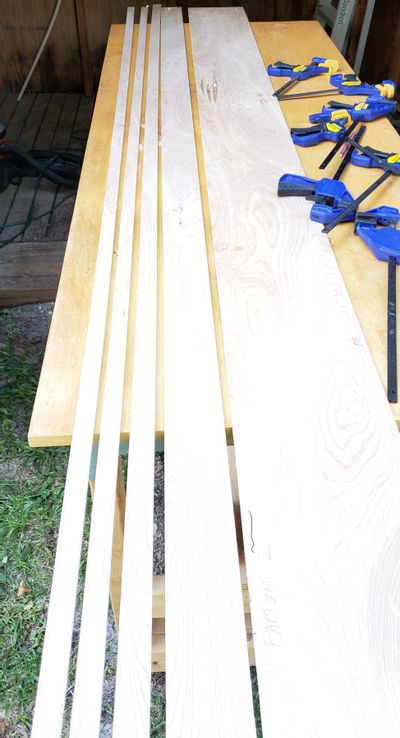
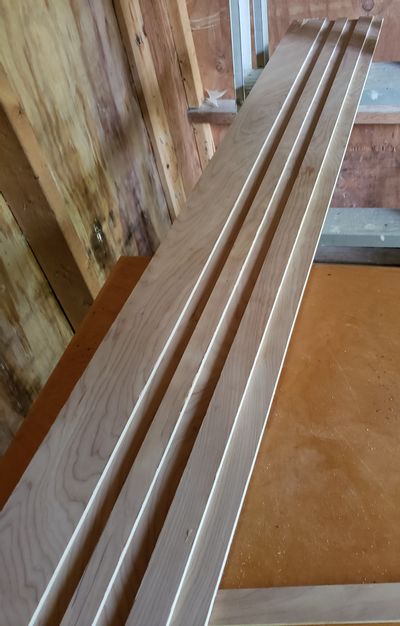
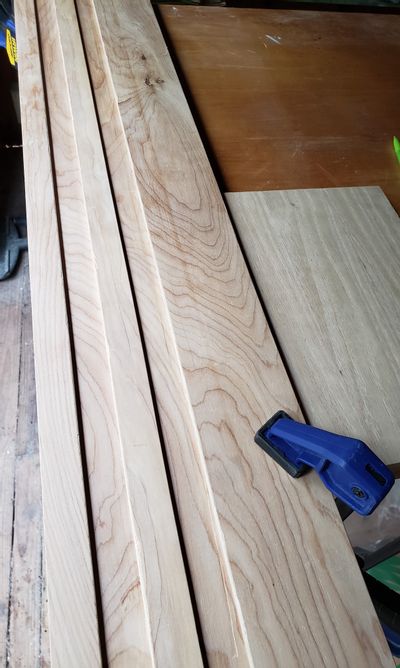
I picked up a full-sized sheet of plywood and had the store rip it in half so that it’d fit in my car. I was somewhat surprised to find that the edges from that cut on the panel saw were actually straighter than the “factory edges” on the board. From there I cut lengthwise strips of ~7″, 3″, 1 1⁄4″, 1″ and 1″ widths from one half by using the other half of the board as a fence. One of the 1″ boards was reserved to use as a spacer. I glued the 3″ strip on top of one side of the 7″ base, left a 1″ space (using the spacer), then glued in the other 1″ board, another space, and finally the 1 1⁄4″ one.
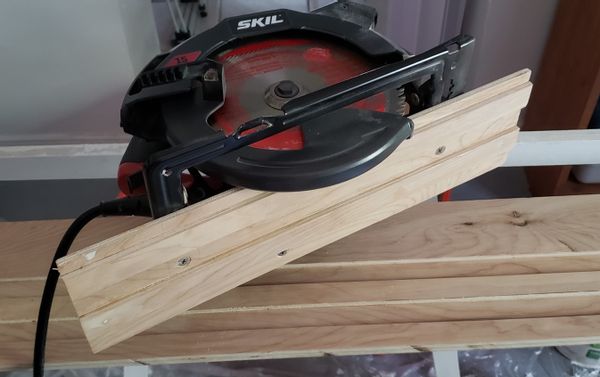
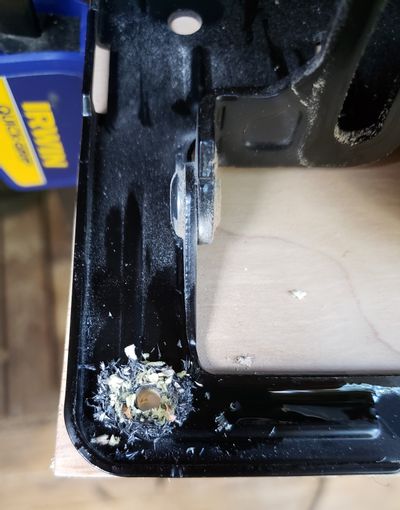
I followed the instructions to put together the base that would attach to the shoe of the circular saw and guide it along the track. First cutting a board to size, then drilling, tapping, and countersinking holes through the board and into the metal shoe of the saw. However, in this configuration, the board completely prevents the blade guard from closing – having the saw blade permanently exposed like that made me uneasy. Additionally, the portion of the base to the right of the blade won’t be resting on anything when placed into the track, so it reduces the safety and doesn’t even contribute to the stability. I decided that I could do better and tossed that piece out to design my own. For my second iteration, I made it narrower so that it wouldn’t interfere with the blade guard and I also extended it an extra 3″ to both the front and back to give it a longer contact area and hopefully improve accuracy.
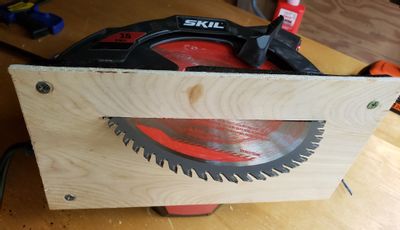
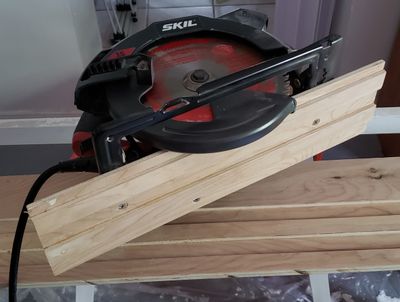
I then glued and clamped the runners to the base and let that dry. The plywood edges were a little splintery and didn’t slide as smoothly as I would have liked when placed in the grooves in the track. It kept catching on minor snags and just had too much friction. I spent quite a while worrying at them with sandpaper to get it so that the saw would be able to slide smoothly but had only moderate success. However, I then applied a coat of paste wax to both sides and that fixed things right up. Now that the base slid smoothly in the track, I put the saw in place and cut along the full length to trim off the excess width of the track and leave the final cutting edge.
Finally, the 8′ long track was kinda unwieldy and I don’t often have to break down full-sized sheet goods, so I cut it down to a much more manageable 5′ length. Now I had one more tool to aid me in my quest of never making any cut by hand without a jig or fence to guide it.